Beaver Builder Blog Post – After you have logged in to the website and gotten to the Dashboard.
I just worked with a client whose template employs Beaver Builder. It is a new tool for me and after I got used to it I like it quite a bit. For the pages, there are some things that are difficult to find, but I will make due for now.
Here are the steps and images to use to create a blog post (or most of them for a regular Page)
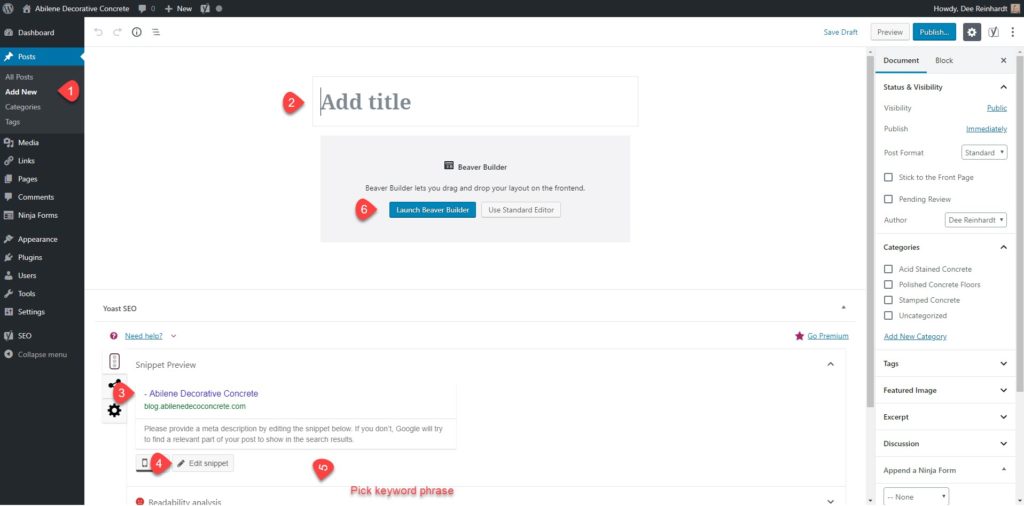
- Select Add Post

- Add a Title that includes your Keyword focus of the article you are writing
- Make sure it looks the way you want it to look
- Edit the Snippet with a sentence that will show in Google Search results. Make sure to include the Keyword from the title.
- Find the Focused Keyword Phrase – from your title and snippet. This should not be the same thing all of the time. You have to pick different words or it becomes ineffective. You need to use your keyword in the article itself at least twice.
- Click on Beaver Builder to start the article.
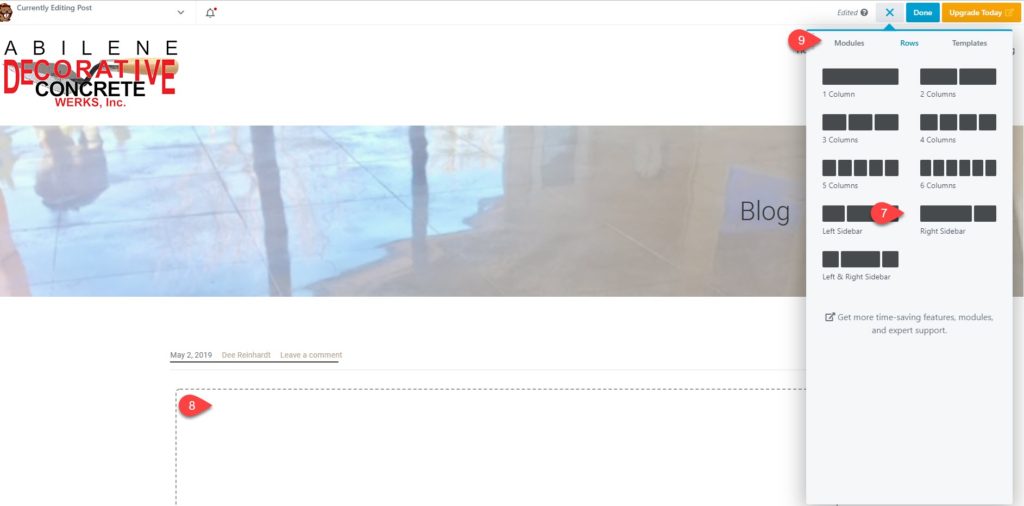
 Click the + sign to add modules to the box. Pick the style for the article. I suggest a picture on one side or the other unless you are adding a gallery.
- Drag it over to the box in the main part of the screen.
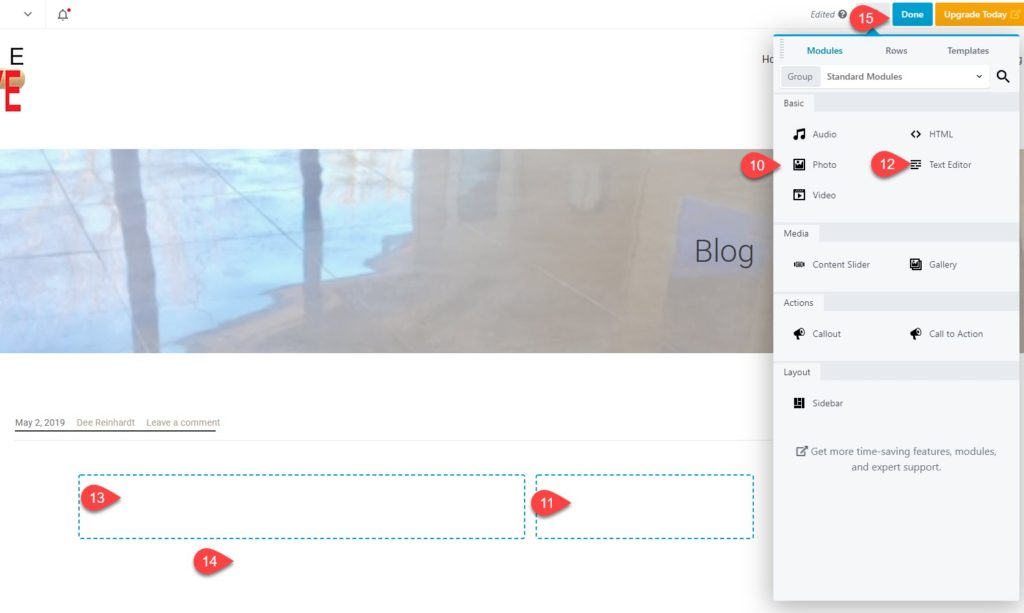
- Switch to modules.

- Select the photo module
- Drag it to the side that you want the photo in. The module editor will pop open on the left of the screen. Be ready to add or upload the photo.
- Select the text editor.
- Drag it to the side that you want the text in. The module editor will pop open on the left of the screen.
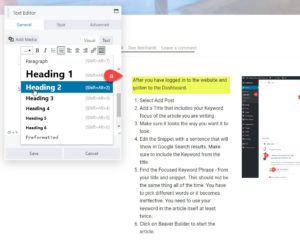
- Start entering your text.
- When you are all done with the text that you want to add including links to pages on your website or to reference sites, then click the Done in the upper right corner. You can save it as a draft OR you can publish. The beauty of WordPress is any changes you make happen as soon as you hit PUBLISH, so you can find a typo and make a change.
Let me know how I can help you with your WordPress site or any of your social media needs!
